Veeam have a fantastic backup product to reliably backup all 365 data including mailboxes, archive mailboxes, Teams data, OneDrive files and Sharepoint sites.
Known as Veeam Backup for Microsoft 365 or VBO365 for short, the product uses AzureAD applications to access the 365 data, which can seem complicated to setup. However the main benefit of this is multiple AzureAD applications can be deployed to improve performance of reading the 365 data out.
This is particularly key when there is a large amount of data to backup, as Microsoft throttle access to their services quite significantly in some cases.
As a Veeam reseller and Cloud Service Provider, we can offer the product in various configurations, including:
- On premise install with backups stored in the cloud
- On premise install with on premise backups
- ‘Cloud to Cloud’ backups stored and run in our UK datacentres, fully managed by us
To configure the VBO365 application 3 steps are needed – adding the 365 Organisation, creating the backup repository and then configuring the backup job to process the data.
Step 1 – Add an Organisation.
- Download the Veeam Backup for 365 application from Veeam’s website
- Install on a server or desktop within your network.
- Once installed, open the VBO365 client and login.

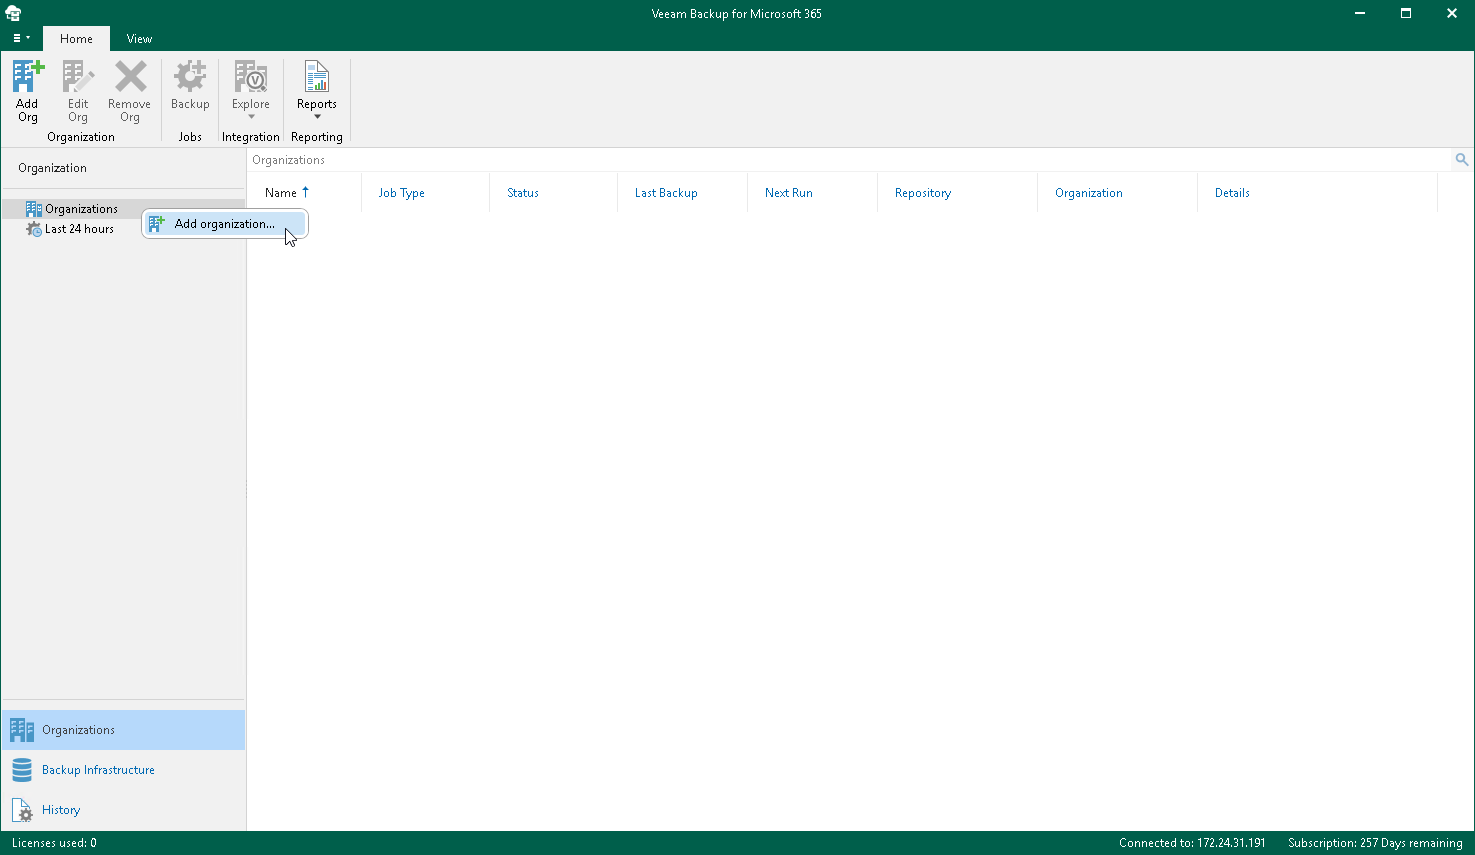
- Select Organisations -> Add Organisation to add in your 365 tenant.
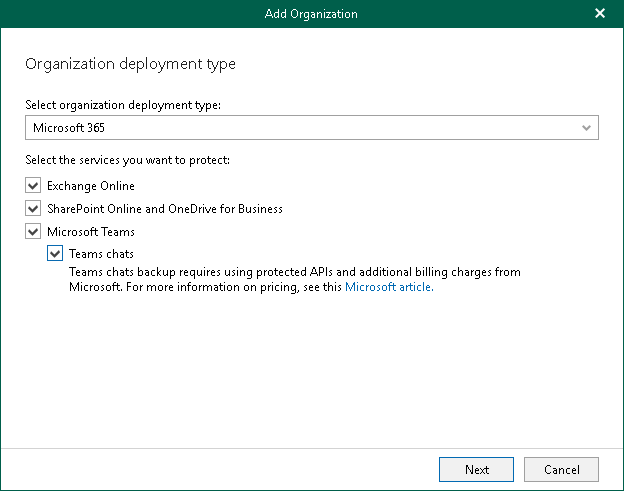
- Select the type of 365 deployment (Standard or Hybrid etc), and the services to protect:
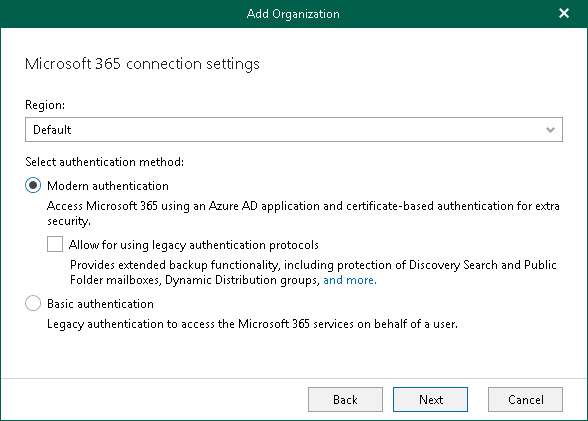
- On the Authentication method, we recommend leaving the ‘Modern Authentication’ selected.
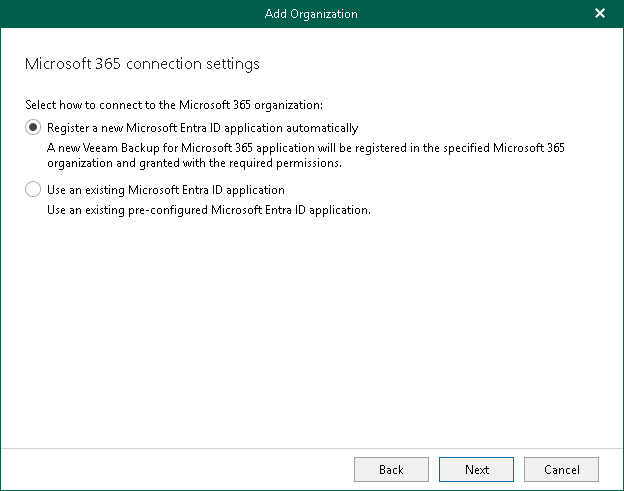
- Select to Register a new Azure AD application automatically. Veeam assigns the relevant permissions as required using this option.
- Give the application a meaningful name, and choose Install to select a certificate

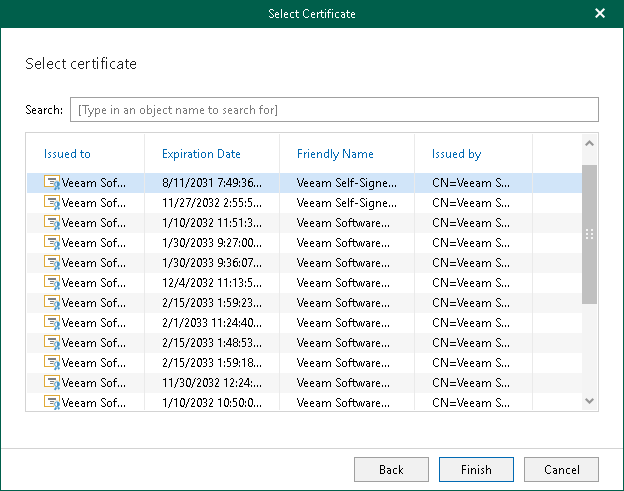
- We recommend choosing Select certificate from the Certificate Store of this server, and selecting the Veeam supplied certificate. You can of course import your own from PFX file, or generate a new self-signed certificate.

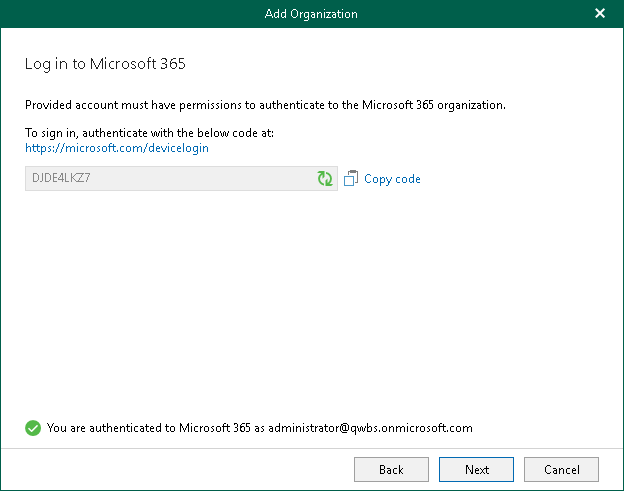
- Select Next and you will be prompted to authenticate with 365 – follow the prompts making sure to use an Administrator account.
- Select Finish and Veeam will deploy the AzureAD application into 365, and configure the relevant permissions.
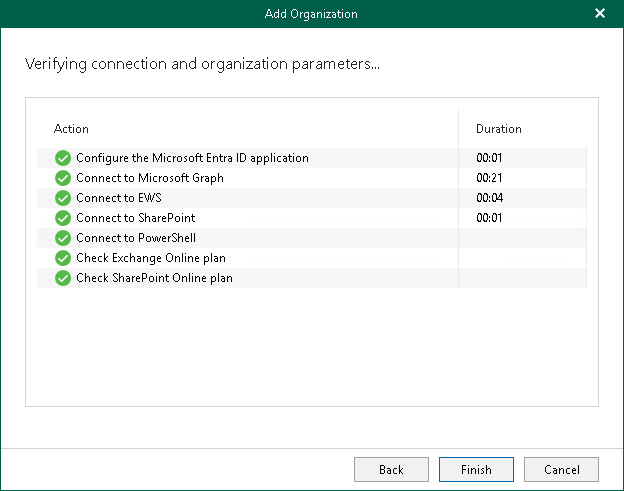
Your 365 tenant is now accessible by VBO365.
Step 2 – Configure the Repository
- Go to Backup Infrastructure -> Backup Repositories
- There will be a default repository created on the C:\ drive most likely.
- We recommend adding a new repository on a dedicated disk. Select Add Repository in the top left
- Give the repository a meaningful name, then select the path on the machine to store the data

- Leave the option to Offload the data to object storage deselected for a local only backup
- Specify the retention policy. By default, 3 years ‘snapshot’ is selected. You can also choose “Item Level” which is more of how a traditional archive works.

- Select finish and the repository will be added
Step 3 – Configure the backup job
- Navigate to Organisations, select the tenant and then click the Backup button on the ribbon

- Give the job a meaningful name, and then chose what to backup. This can be the whole 365 tenant, or individual Users, Groups, Sites or Teams.

- Select Next and choose any objects to exclude from the backup in the same method.
- Choose the relevant backup proxy (most likely will be the same server as you ran the install) and the repository to backup to.

5. Choose the schedule for the backup. This can be at a specific time, or periodically every x minutes or hours. Bear in mind the length of time to run incremental backups before setting this very low.
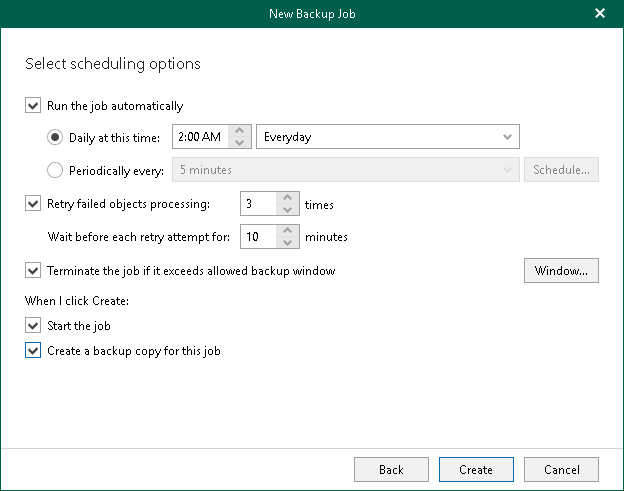
- Select Create and the job will run accordingly with a first full backup, followed by incrementals afterwards.
Complete!
You can see that it’s quite straight forward to configure the Veeam 365 backup for a simple on premise backup of a tenant. Veeam is able to scale to much larger tenants by deploying multiple Azure AD applications into 365, and we can advise on this if required.
Likewise if you wish to offload backup data to our secure UK datacentres, or would like the configuration and management completely managed by us, this is an option too! Simply contact us with your requirements.

